
Filters enable Workflows to selectively perform actions on specific files. By setting up conditions, you can instruct the Workflow to move only those files that meet the specified criteria.
Example
You can set up a filter condition that means your Workflow will not move .MSG file formats from the source location to target location, to prevent sharing incorrect data with clients.
1. Add a Filter
- In the Workflow creator, once you have set up your “Options & Triggers” click “Add Filters” to add a filter to your Workflow.

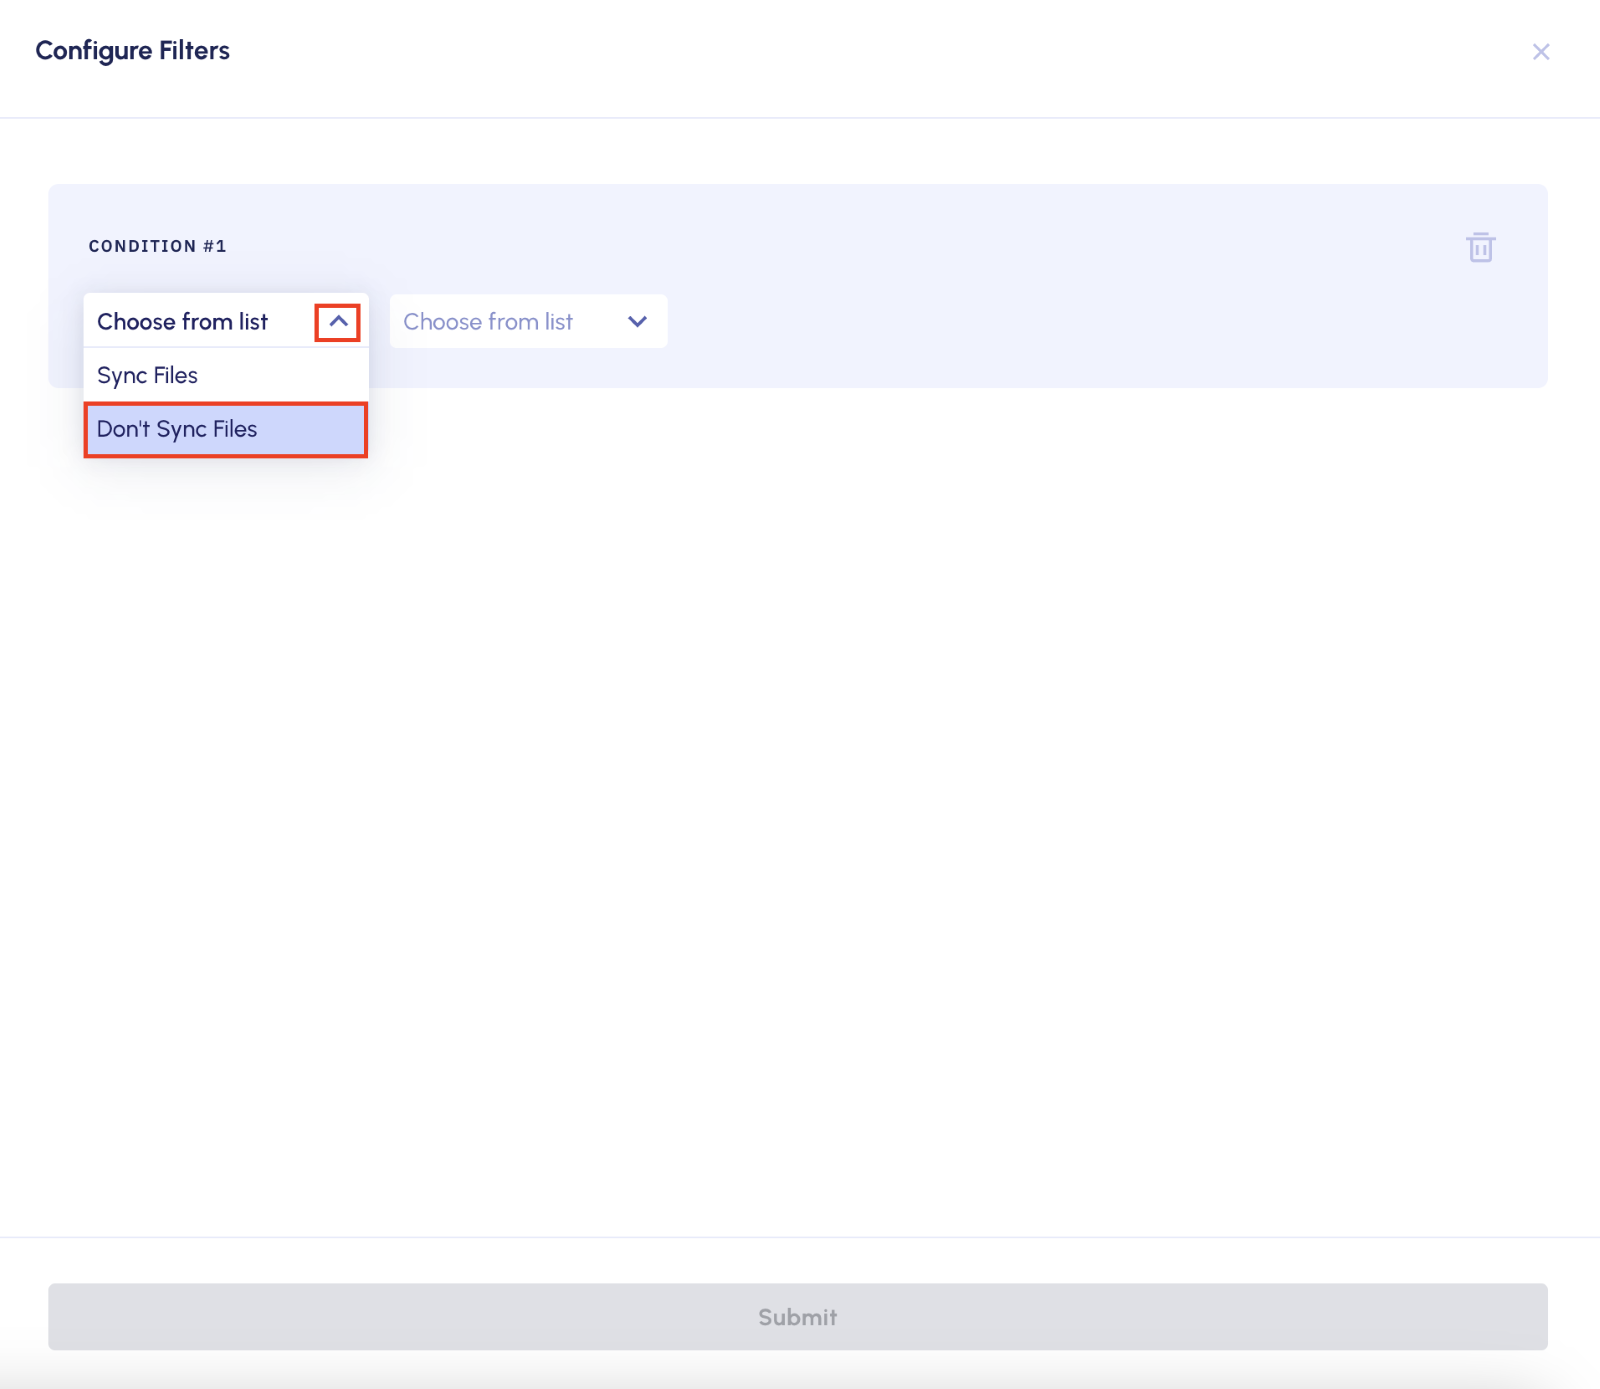
2. Configure Filters
- From the first dropdown menu, select whether you want your Workflow to sync or not sync files:
-
- Sync Files: your workflow will move files that meet the criteria of this filter condition.
-
- Do Not Sync Files: your workflow will not move files that meet the criteria of this filter condition.
- From the second dropdown menu, select the type of filter you would like to apply.

- From the third dropdown menu, select the type of file formats that you want your filter condition to apply to.

- Click “Submit”.
💡 Your Workflow can have multiple filter conditions, and these conditions can be added and deleted, using the “Add” button and bin icon, respectively.